Invaders from another world attack without warning, unleashing a new type of threat: weapons known as “machine lifeforms.” In the face of this insurmountable threat, mankind is driven from Earth and takes refuge on the Moon.
The Council of Humanity organizes a resistance of android soldiers in an effort to take back their planet. To break the deadlock, the Resistance deploys a new unit of android infantry: YoRHa .
In the forsaken wasteland below, the war between the machines and the androids rages on. A war that is soon to unveil the long-forgotten truth of this world…
Characters
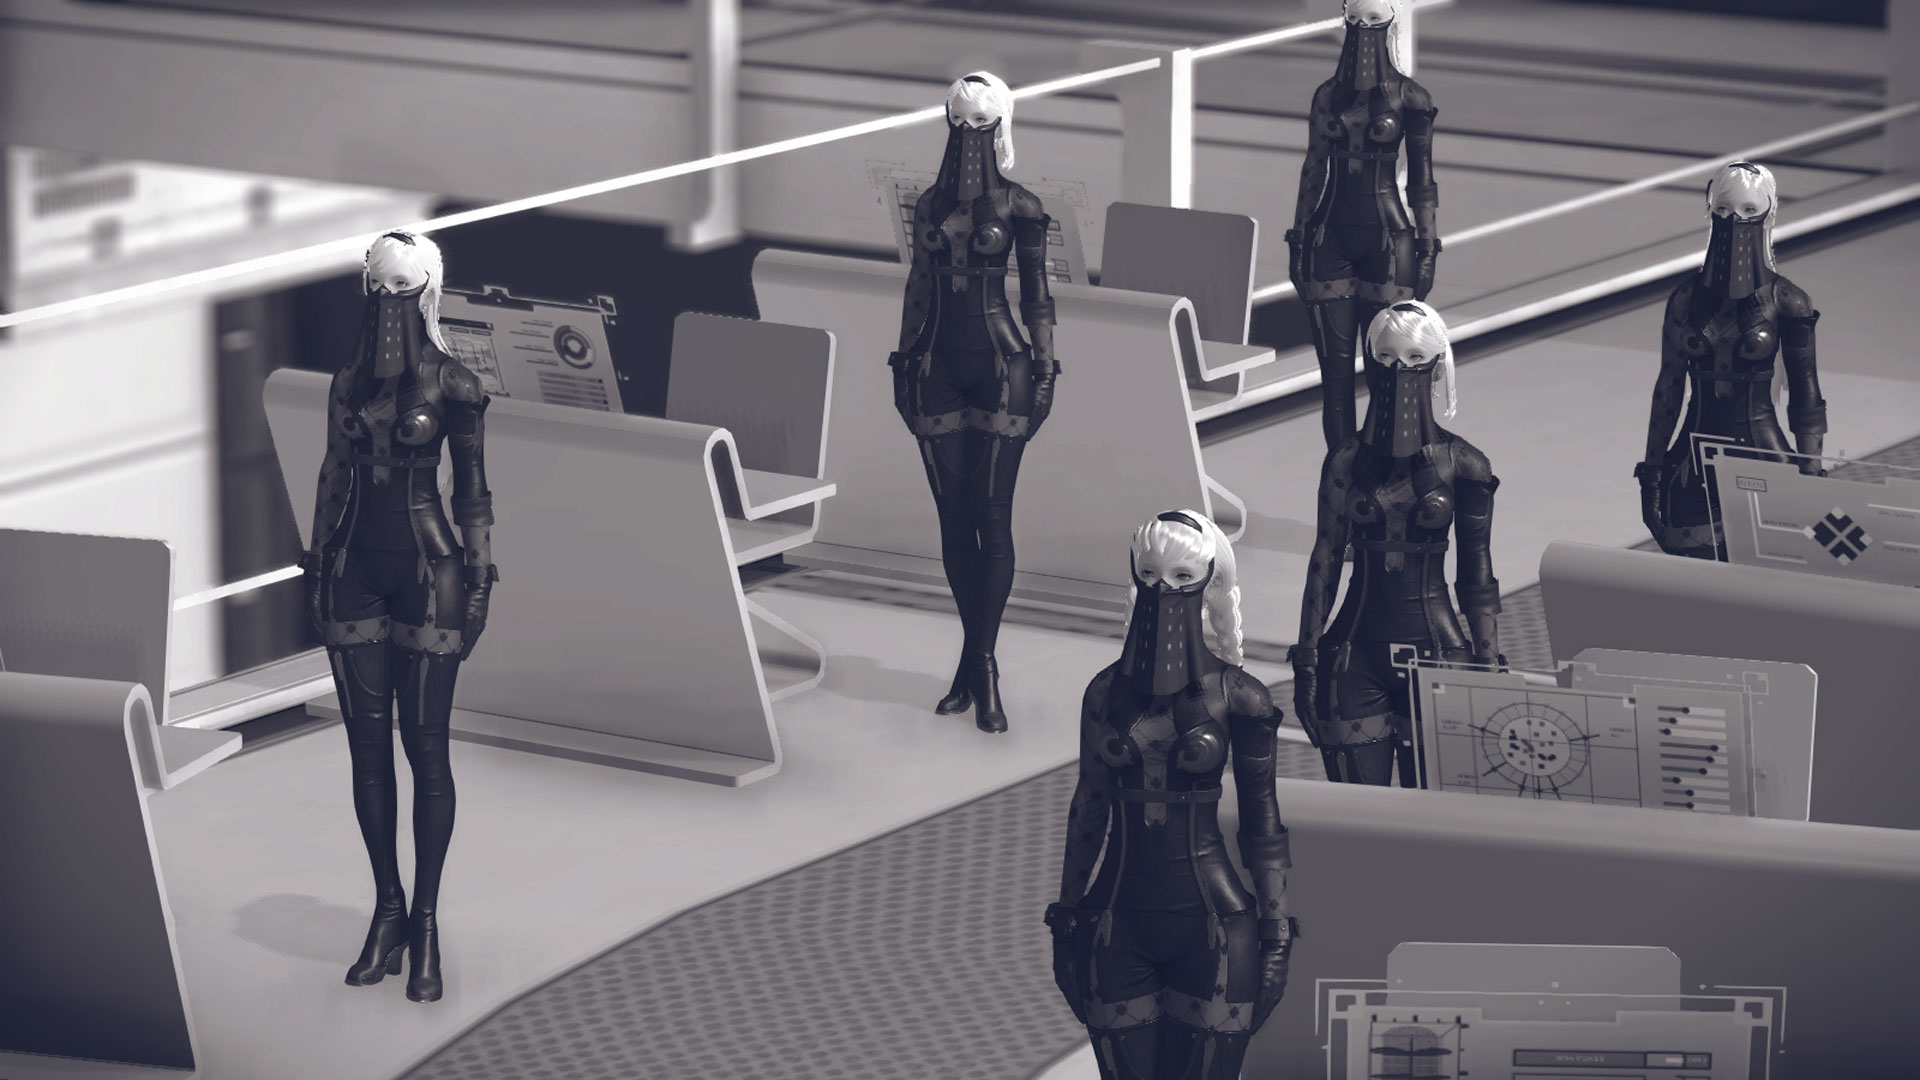
2B (YoRHa No. 2, Type B)
A blade…with a quiet volition.
An all-purpose battle android deployed as a member of the automated infantry squad, YoRHa. She is equipped with a sword for close-quarters combat, and can attack from range using the “Pod” tactical support system. Members of YoRHa forgo names and are referred to only by their codes. Though regulations forbid them from expressing emotions, each model has its own distinguishing personality, and 2B is comparatively cool, calm, and collected.
9S (YoRHa No.9, Type S)
A soul…and an ephemeral kindness.
Though he has the ability to attack, this YoRHa android specializes in research missions and excels in collecting information, mainly by hacking. Within YoRHa, 9S is comparatively varied in his emotional expressions and has a kind personality.
A2 (YoRHa Type A, No. 2)
A vortex…of the past and hatred.
The Type A is a YoRHa prototype model that is no longer in use. She specilizes in close-range attacks. She was operated in trial basis in the process of developing official models such as 2B and 9S. Personality-wise, she has little to say and always acts independently.
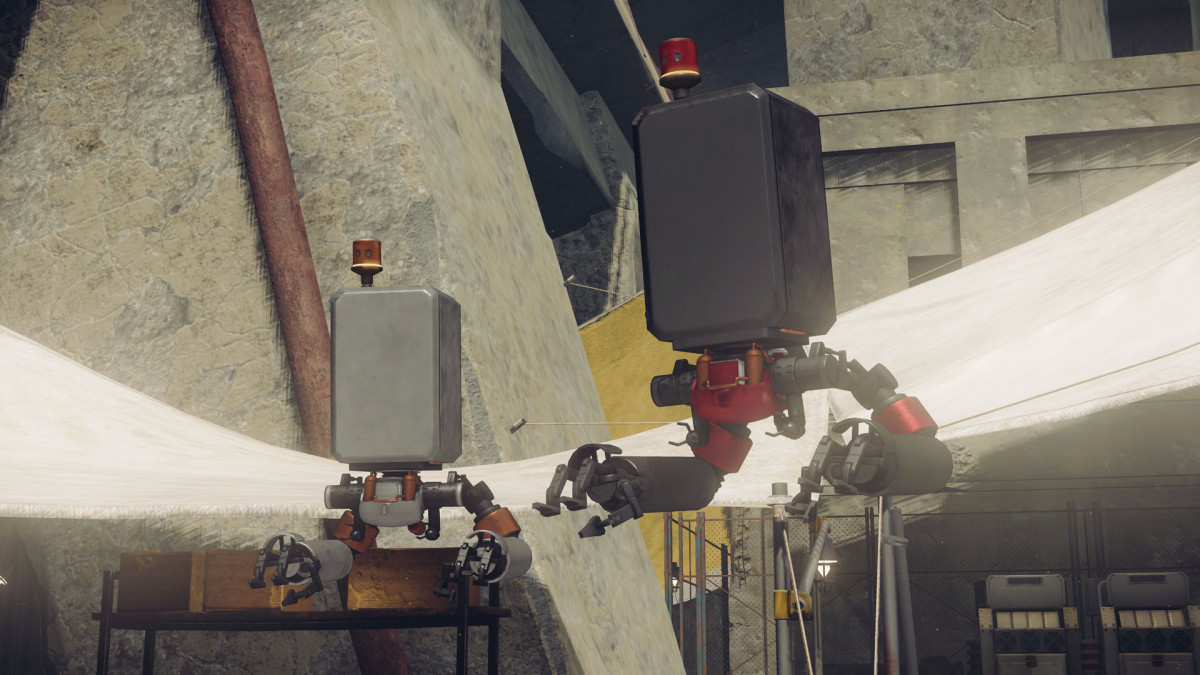
Pod 042 and Pod 153
These support units are part of every YoRHa soldier’s standard equipment. They come installed with various weapons used for long-range combat, and can also aid their owners in traversal. They can display messages coming in from the Command, and they are also capable of exchanging information among themselves to devise strategies. 2B is followed by Pod 042, while 9S is accompanied by Pod 153.
Commander
The leader of the “Bunker,” a miilitary base orbiting Earth. She is in charge of all YoRHa units. Her position demands her to be calm and collected at all times, but she seems to worry for the personal safety of 2B and 9S. She also appears to have some kind of history with YoRHa prototype moodel A2.
Operator 60 and Operator 210
Two communications operators permanently stationed at the Bunker. They are mainly in charge of analyzing intel, and relaying orders to the YoRHa units on the planet’s surface. They have fairly different personalities, with 6O, who’s in charge of 2B, being relatively bright and cheerful, whereas 21O, in charge of 9S, is always cool and composed
Adam
A mysterious young man.
He wears glasses and is extremely intelligent. He has a generally calm personality, but does not shy away from excessive force in order to attain his goals.
Eve
Adam’s younger twin.
Contrary to Adam, Eve is short-tempered and doesn’t like thinking too much. His brother means the world to him.
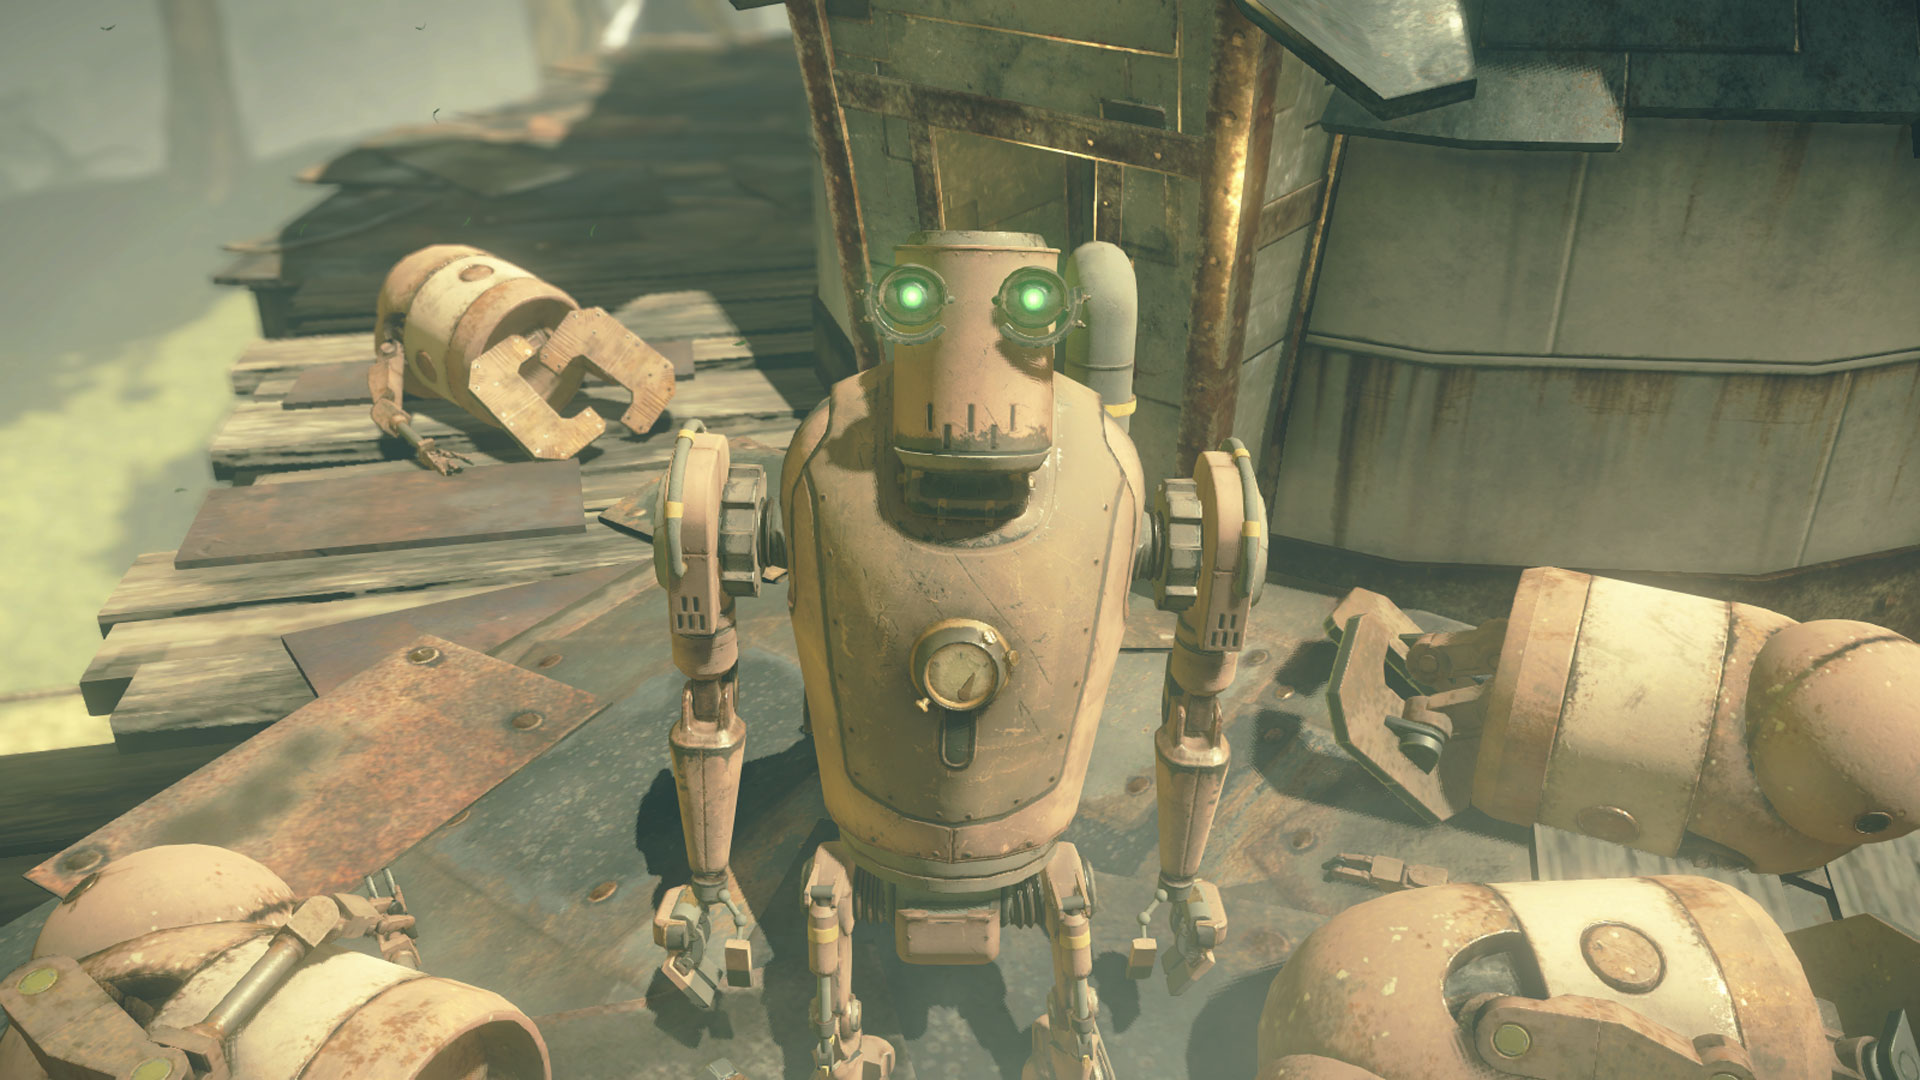
Pascal
Despite being a machine lifeform, Pascal is a pacifist and despises any kind of conflict. He is searching for the path to peace, along with other likeminded machine lifeforms. He is very intelligent, and shows a great interest in the history of humanity and machines alike.
Devola and Popola
A pair of old android models residing at the Resistance camp. They are aware that two identical models went haywire in the distant past, and they’ve always considered themselves responsible somehow. They are unique androids in that they are capable of consuming alcohol.
Endings
Ending A - flowers for m[A]chines
■ Complete the game for the first time and complete all of the Main Story Quests.
Ending B - or not to [B]e
■ Continue from your saved file after completing ending A and complete all of the Main Story Quests to achieve this ending.
Ending C - meaningless [C]ode
■ During your third playthrough, choose A2 for the final boss. Then select the dialogue "No" to POD's request during the end credits.
Ending D - chil[D]hood's end
■ Load up and play through the game a third time and play as 9S for the final boss battle. During the text portion, you'll have 2 choices: "I'll go with you" or "I'll stay". Choosing either results in obtaining this ending, though the contents of each version differ.
Ending E - the [E]nd of YoRHa
■ After completing either C or D's ending once more (This can be done quickly through Chapter Select, Ch. 17-09), say "Yes" to POD's request, and then complete a shooting mini-game.
Warning: When attempting to get any of the following endings, make sure to save first if necessary, as endings F through Z count as "bad ends" and will return you to the title screen without saving.
Ending F - mission [F]ailed
■ [Ch. 01-03_2] After Engels knocks 9S onto his back, fail to repair your system by letting the timer run out.
Ending G - hun[G]ry for knowledge
■ [Ch. 01-01_2] When you get control of 9S for the first time, walk to the crane and neglect the mission.
Ending H - a mountain too [H]igh
■ [Ch. 05-02] Ignore the order to intercept the Goliath's attack on the city and abandon the mission. Taking the path from Pascal's Village to the Amusement Park easily achieves this.
Ending I - no [I] in team
■ [Ch. 08-01_2] Defeat the boss at the Copied City, then run away from 9S afterward.
Ending J - bad [J]udgement
■ [Ch. 09-01_3] When entering the factory and meeting the machines, kill the Pastor or any of them.
Ending K - ajji wo [K]utta
■ [Ch. 06-01] After giving your report to commander you'll receive an email titled "Jackass: Fish." Speak to her at the Desert Camp to obtain the Mackerel item, which can be found in the "Caught Fish" menu. Eat it to earn this ending.
Ending L - [L]one wolf
■ [Ch. 10-01_3] OR [Ch. 10-03] Either exit the Resistance Camp while it's being attacked OR abandon the entrance to Pascal's Village when the boss creature shows up.
Ending M - break ti[M]e
■ [Ch. 14-03] Don't go to Pascal's Village when it's attacked while playing as A2. Running to the back of the Resistance Camp, Factory or Amusement Park instead should trigger this.
Ending N - [N]o man's village
■ [Ch. 05-01] Destroy every machine in Pascal's village.
Ending O - just y[O]u and me
■ [Ch. 11-03] Instead of proceeding forward to the City Ruins, simply run back towards the Factory. Alternatively, in [Ch. 11-04], instead of hacking into 2B when she is downed by the EMP, hack the other YorHa units around her until the mission fails, or simply walk away.
Ending P - corru[P]tion
■ [Ch. 11-06] Allow 2B to die from the virus.
Ending Q - [Q]uestionable actions
■ [Ch. 11-07] Don't go to 2B's location near the commercial facility. Heading to the desert area or back towards the Resistance Camp instead will trigger this ending.
Ending R - mave[R]ick
■ [Ch. 14-05] Attack the robots allies nearby Pascal. Going berserk in the room with Pascal and the children can also trigger this ending.
Ending S - city e[S]cape
■ [Ch. 17-01] When attempting to gain access to the Tower, abandon Popola and Devola after they attempt to protect you.
Ending T - fa[T]al error
■ Simply remove your Operating System (OS) chip.
Ending U - deb[U]nked
■ Use your self-destruct ability to blow up the bunker.
Ending V - reckless bra[V]ery
■ [Ch. 17-01] When attempting to gain access to the Tower, fight alongside Popola and Devola instead of hacking the Tower (or alternatively just stand there watching).
Ending W - broken [W]ings
■ [Ch. 01-01_1] In the prologue when 2B flies into the factory, let yourself get killed by the giant laser/die during the prologue in general.
Ending X - time to rela[X]
■ [Ch. 11-06] After reaching the commercial facility as virus-infected 2B, when the game switches you to controlling A2, run away instead of helping.
Ending Y - head[Y] battle
■ Allow Emil to self-destruct at the end of the boss fight in the quest "Emil's Determination".
Ending Z - over[Z]ealous
■ [Ch. 14-01] After leaving the desert, when you encounter and save Pascal outside the Resistance Camp, choose to kill him instead of sparing him.
This is bold and this is strong. This is italic and this is emphasized.
This is superscript text and this is subscript text.
This is underlined and this is code: for (;;) { ... }. Finally, this is a link.
Heading Level 2
Heading Level 3
Heading Level 4
Heading Level 5
Heading Level 6
Blockquote
Fringilla nisl. Donec accumsan interdum nisi, quis tincidunt felis sagittis eget tempus euismod. Vestibulum ante ipsum primis in faucibus vestibulum. Blandit adipiscing eu felis iaculis volutpat ac adipiscing accumsan faucibus. Vestibulum ante ipsum primis in faucibus lorem ipsum dolor sit amet nullam adipiscing eu felis.
Preformatted
i = 0;

while (!deck.isInOrder()) {
    print 'Iteration ' + i;
    deck.shuffle();
    i++;
}

print 'It took ' + i + ' iterations to sort the deck.';